
My former employer decided to pull the plug on my old backup server. It was nothing special, just a Windows share, VSS and a PPTP tunnel. But it work for me, every night my homeserver connected to the server and by Robocopy /mir sync my folders so that any changes was reflected on the backup server.
When I got the notice that they wher going to pull the plug I started to look for a new solution that I could have up soon and had to be cheap.
I got a tips that Crashplan was something that I should have a look on. After some googling I found this link: http://www.bionoren.com/blog/2013/02/raspberry-pi-crashplan/
I had a Raspberry Pi lying around, I also had a 1TB SATA hard drive from my old homeserver, a USB/SATA Docking Stations and some other stuff.
After three week I managed to destroy the SD card, I had a backup but I decided to rebuild most of it and put / on the USB hard drive as well.
This is how I did it.
Installed the latest 2013-09-25-wheezy-raspbian.zip, NOOBS made more partitions on the SD card that I didn’t need.
Configure everything in raspi-config. Disabled Desktop, enabled SSH and set Graphics memory to 16MB. I’m using the old 256MB Raspberry PI model B.
I partitioned my USB hard drive in two partitions 16GB for rootfs and 850GB for /data
Used this guide to partition my USB hard drive and move root
http://www.raspberrypi.org/phpBB3/viewtopic.php?f=29&t=44177
After this I used the http://www.bionoren.com/blog/2013/02/raspberry-pi-crashplan/ to install java and Crashplan
To configure Crashplan headless:
http://support.crashplan.com/doku.php/how_to/configure_a_headless_client
I used putty.exe to set up the SSH tunnel, start it from command prompt:
putty -L 4200:localhost:4243 pi@<IPtoPI> -pw ********
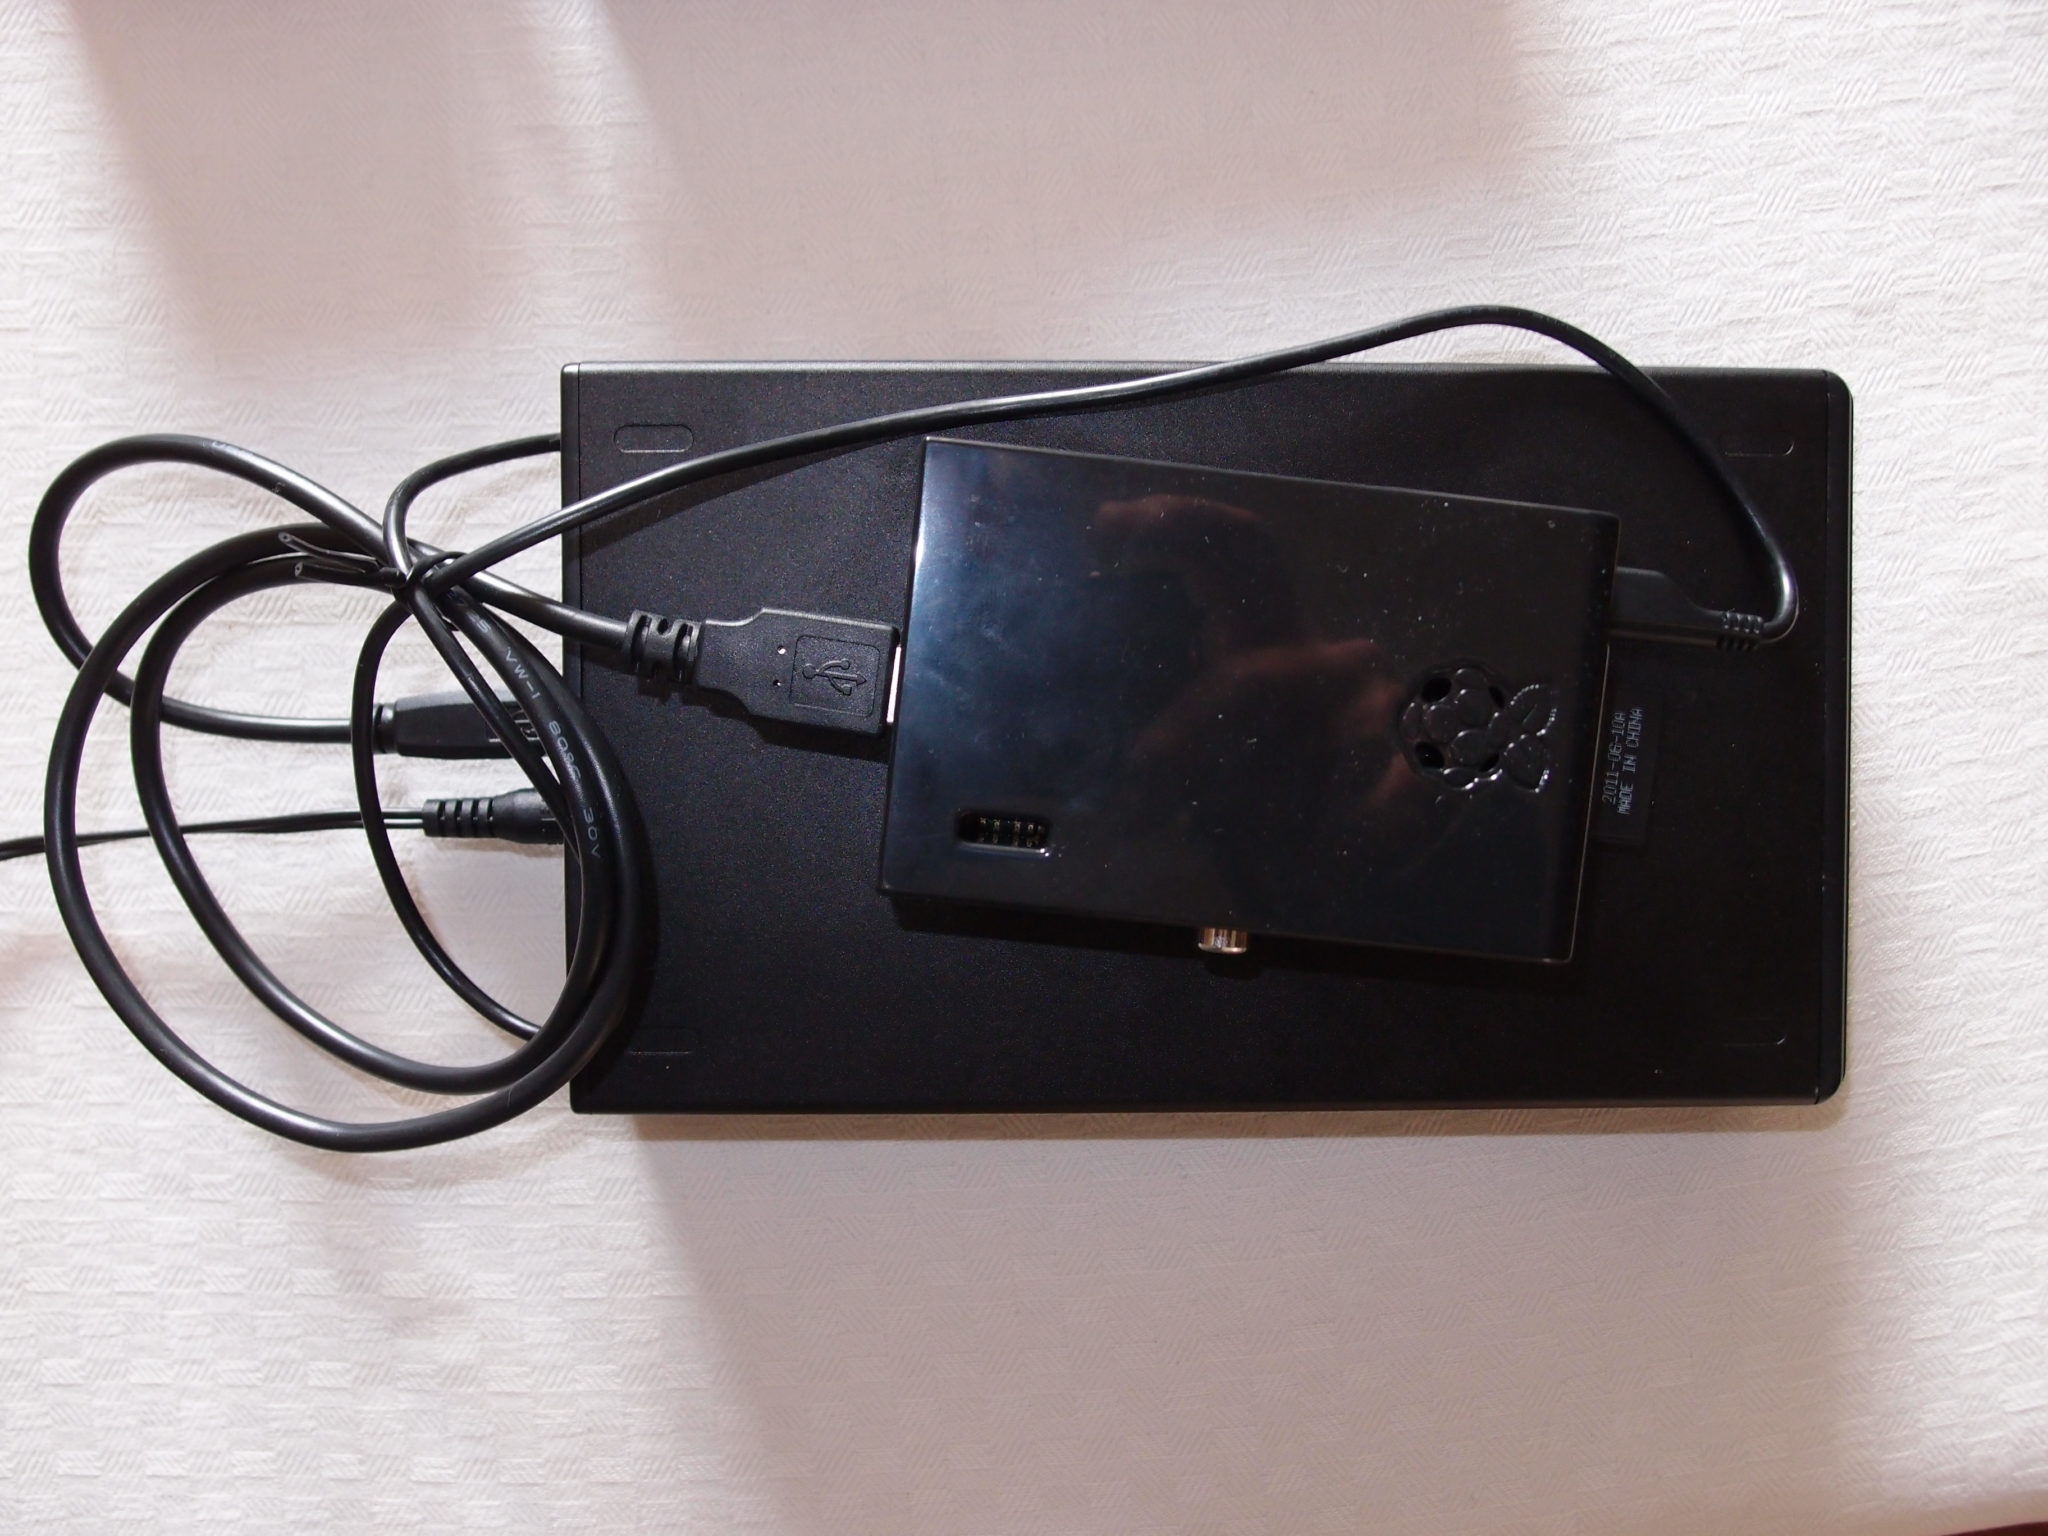
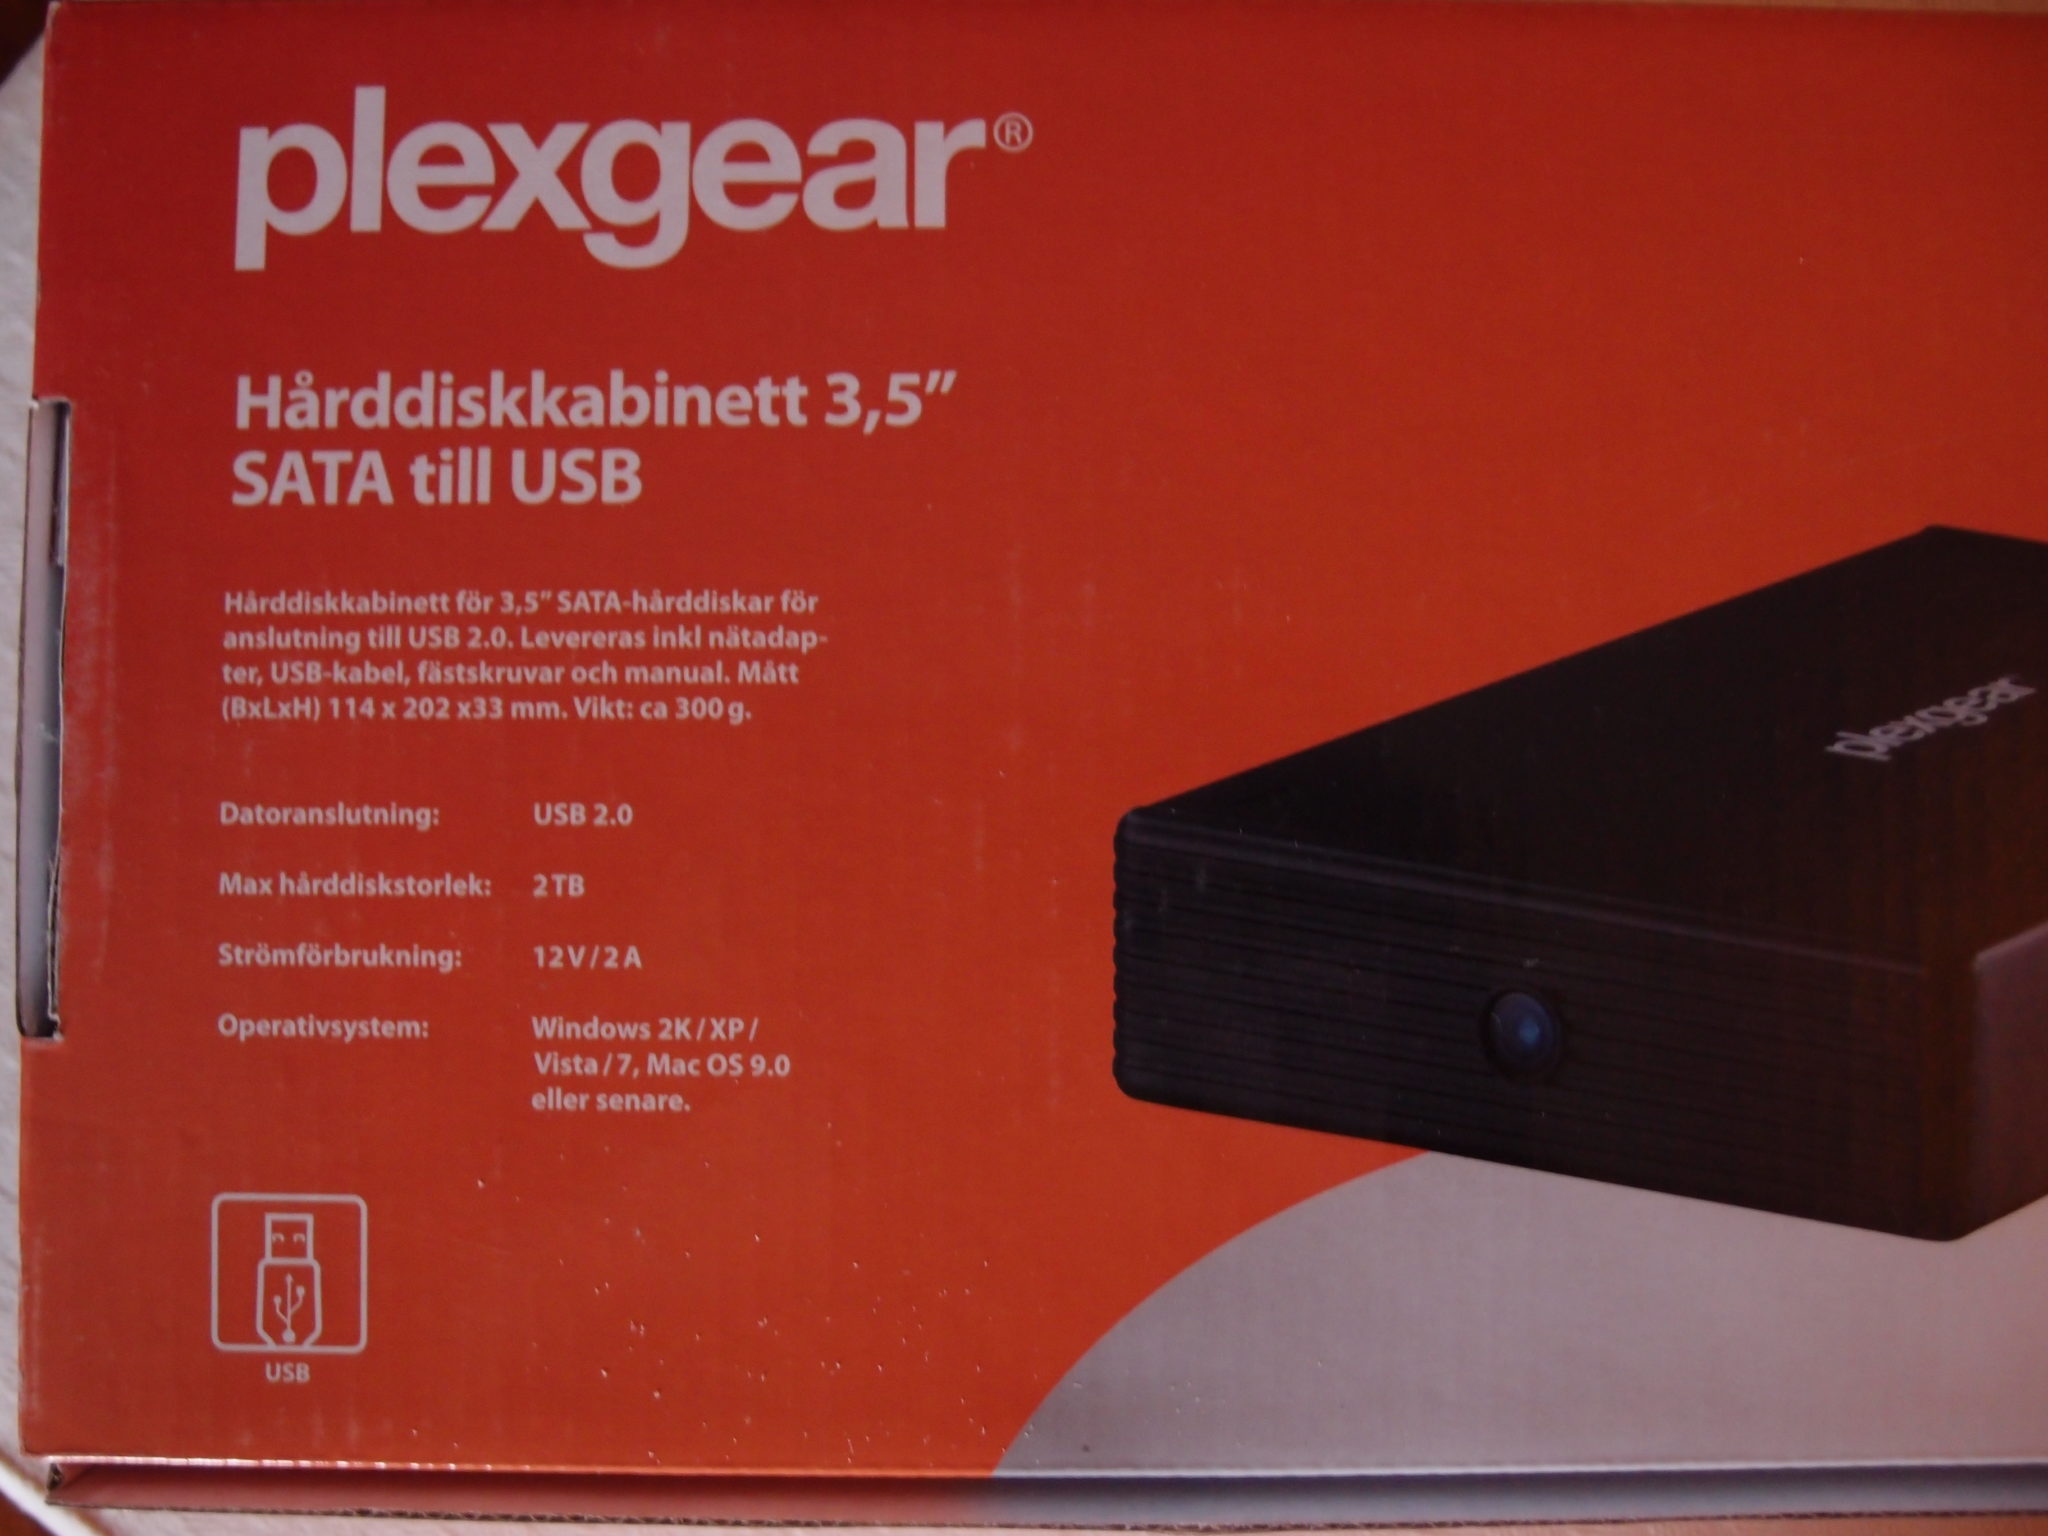
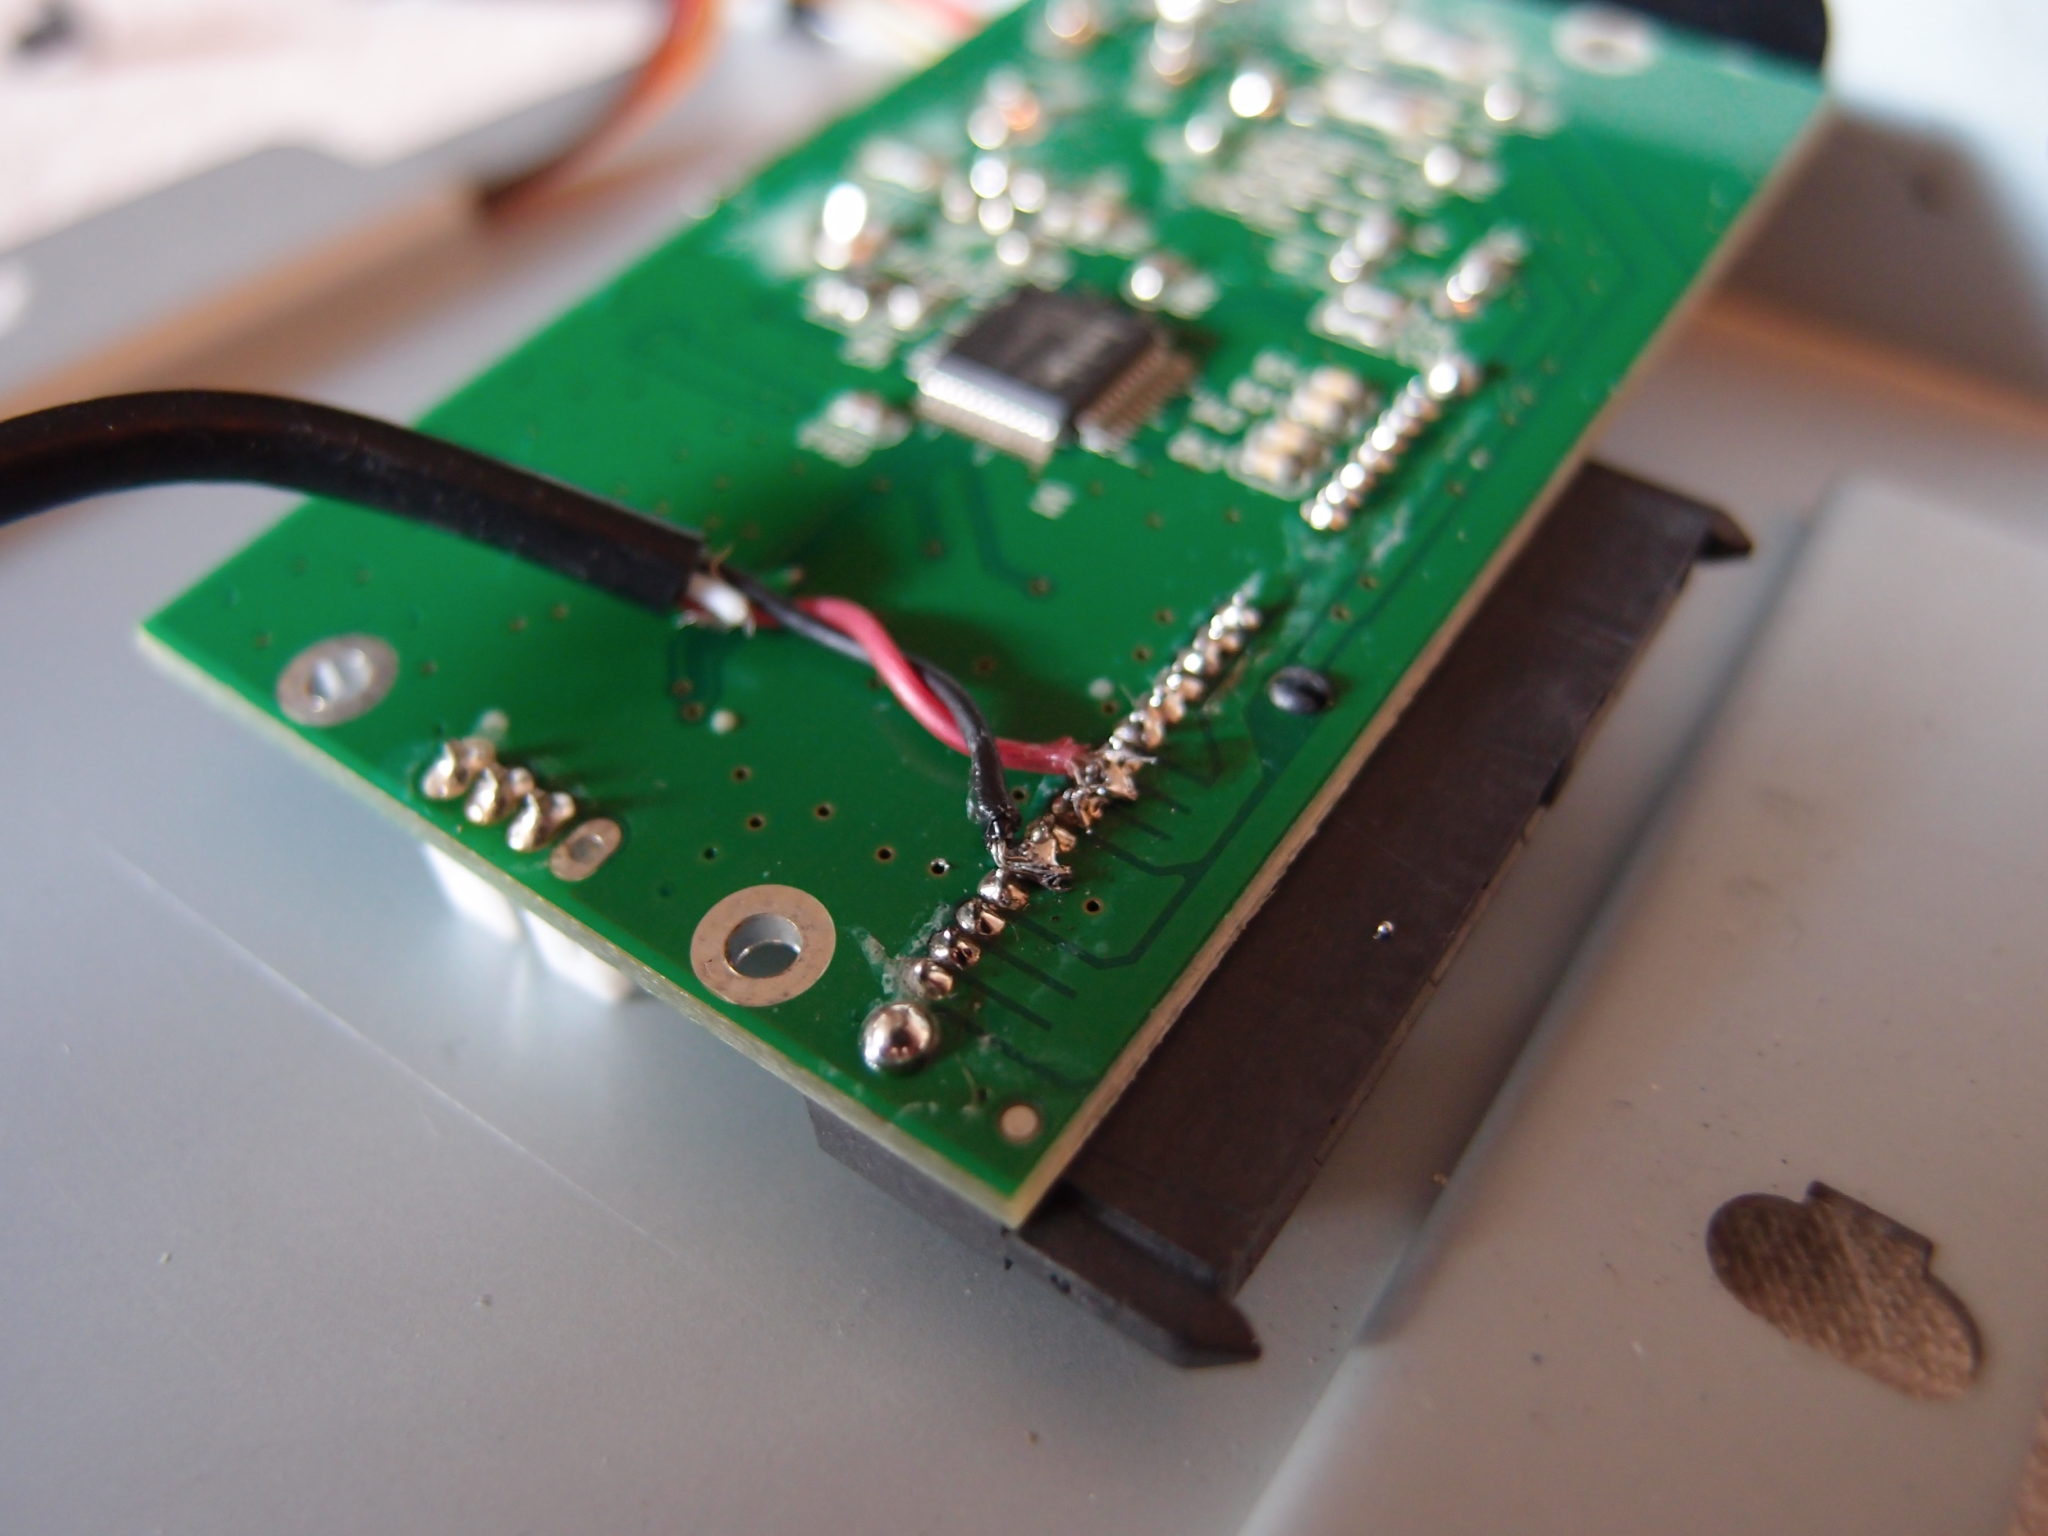
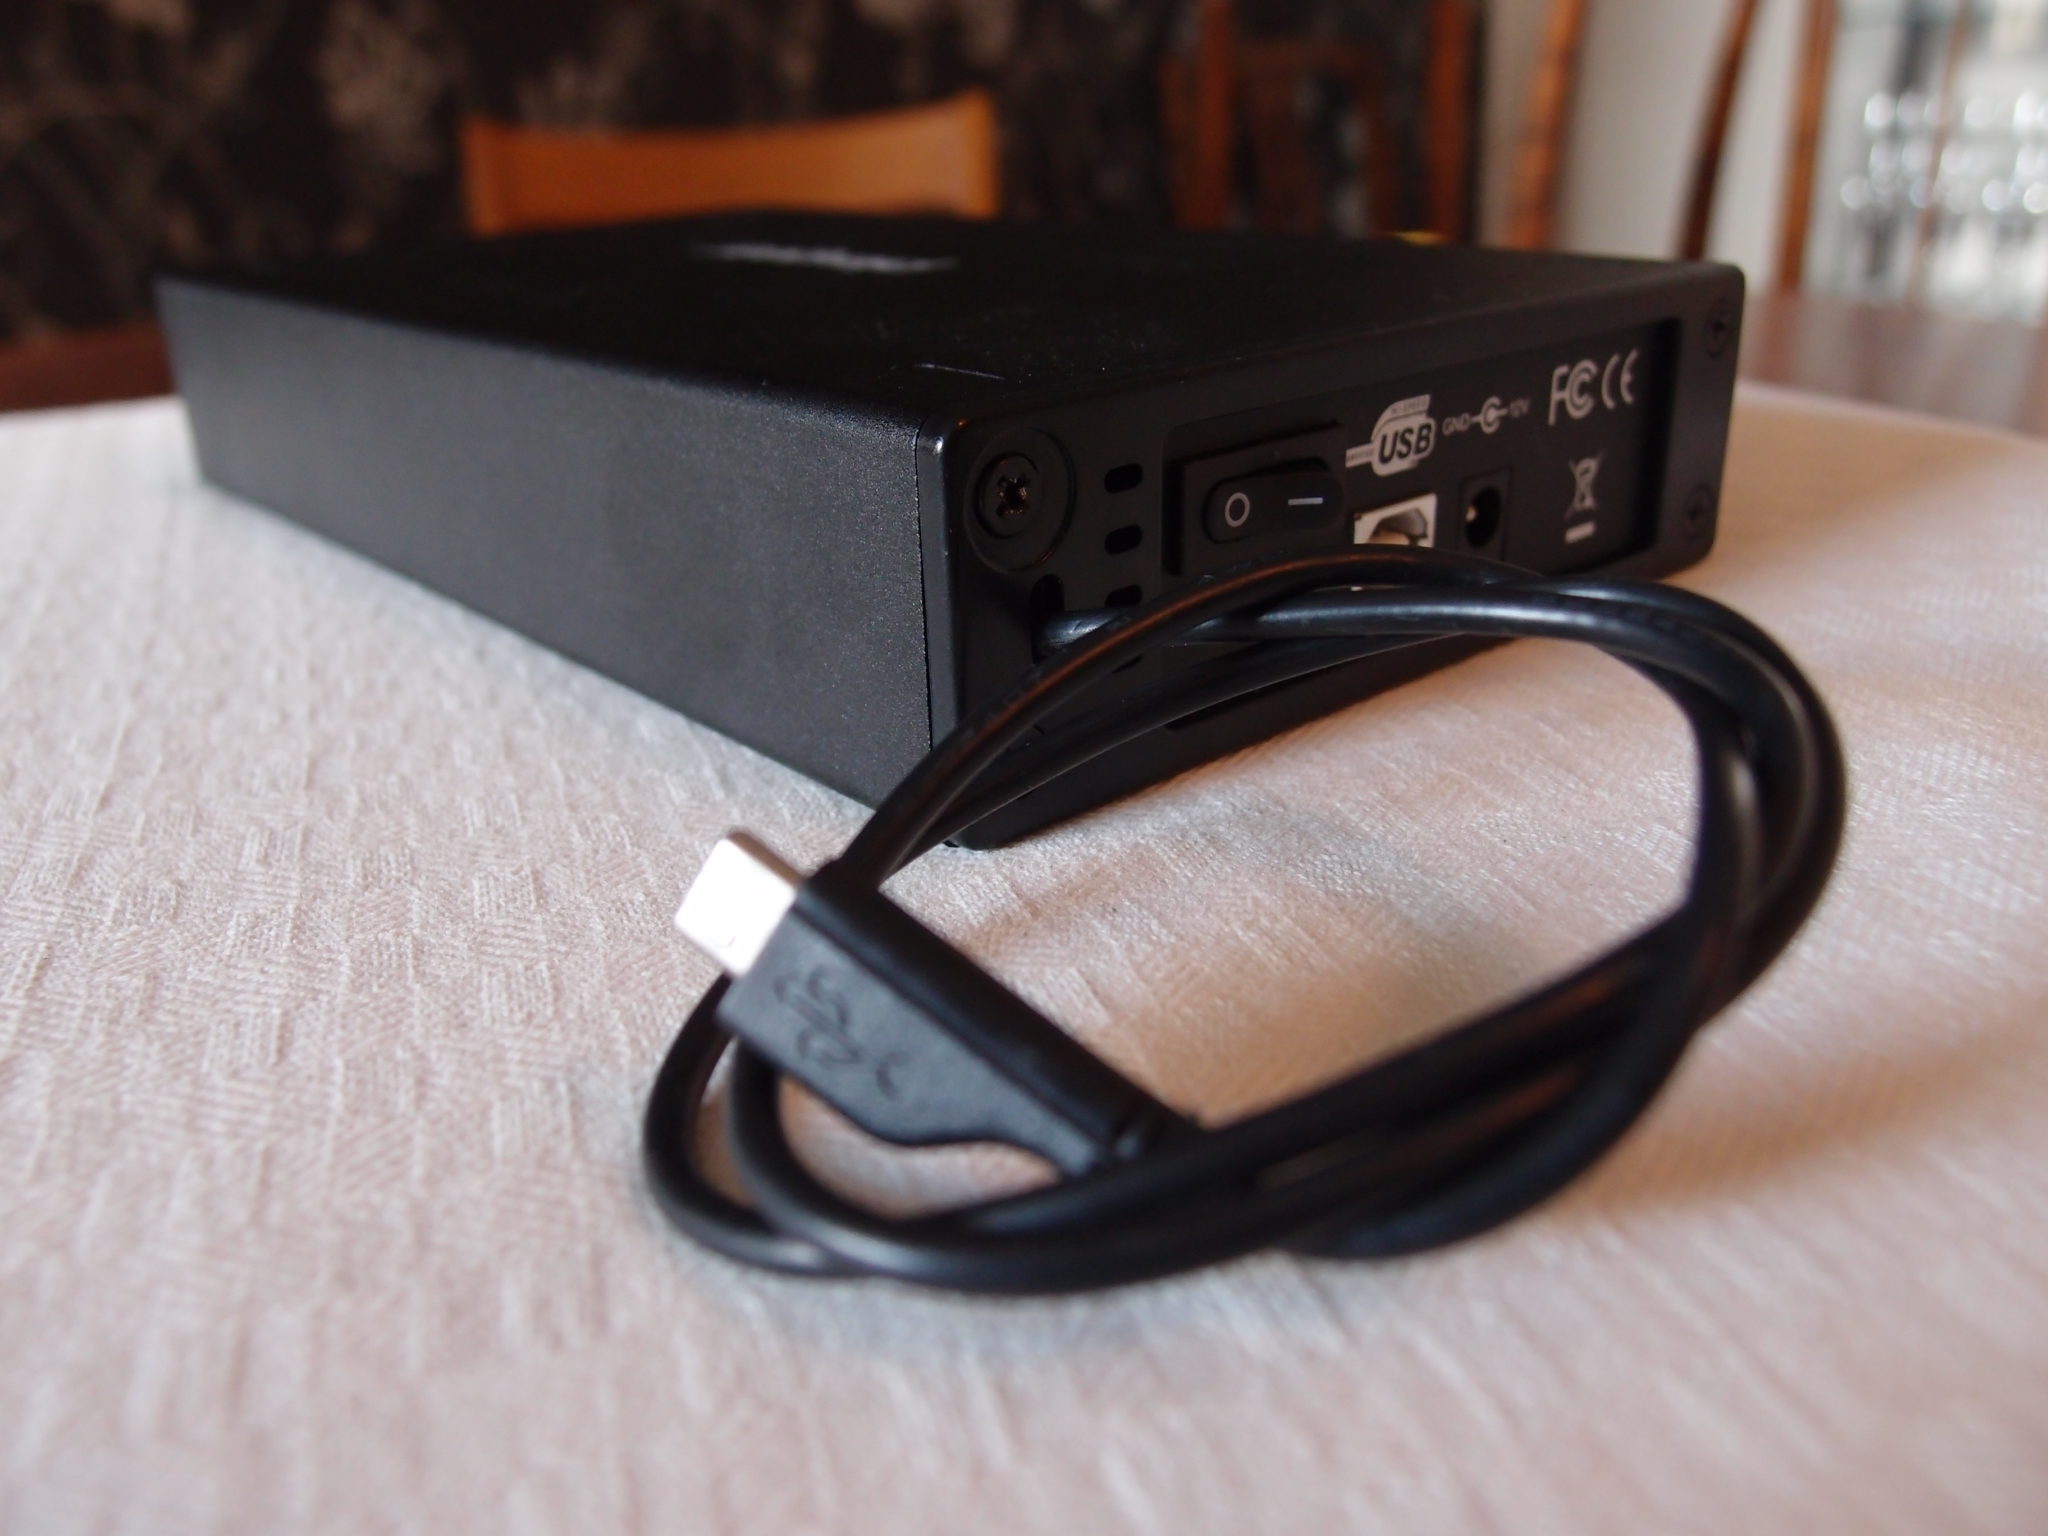
I bought a new USB – SATA hard drive cabinet for the old 1TB hard drive.
It has a 2A power supply that I thought could power my Raspberry Pi as well, there aren’t a lot of normal power outlets in the computer center.
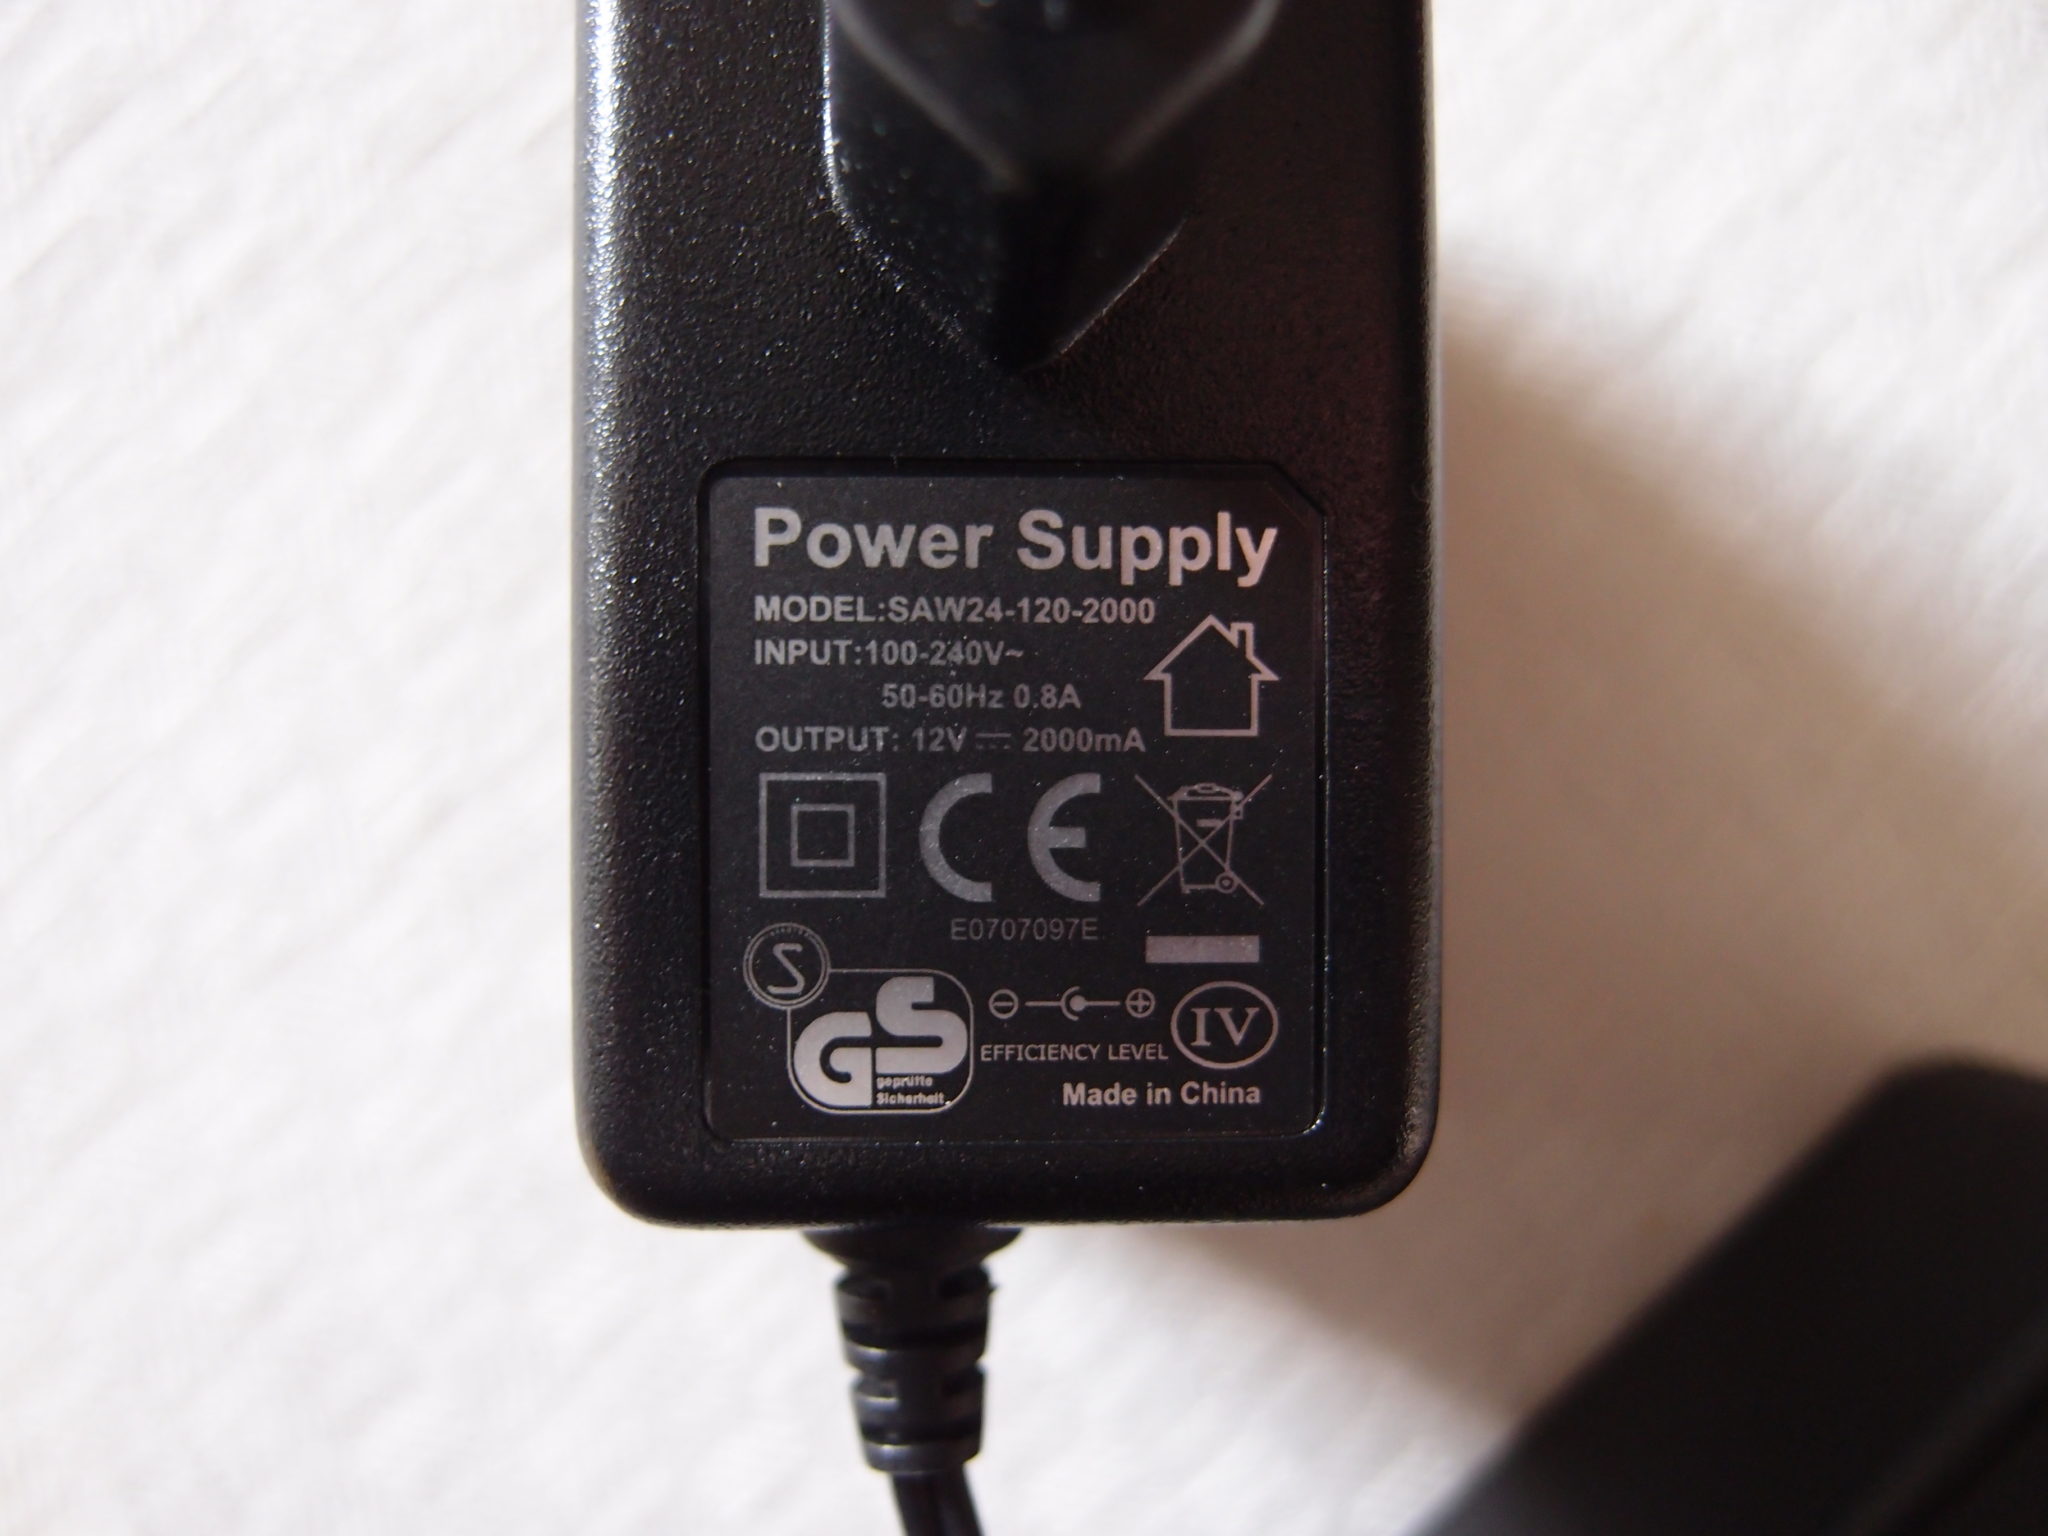
The hard drive does not take that much power.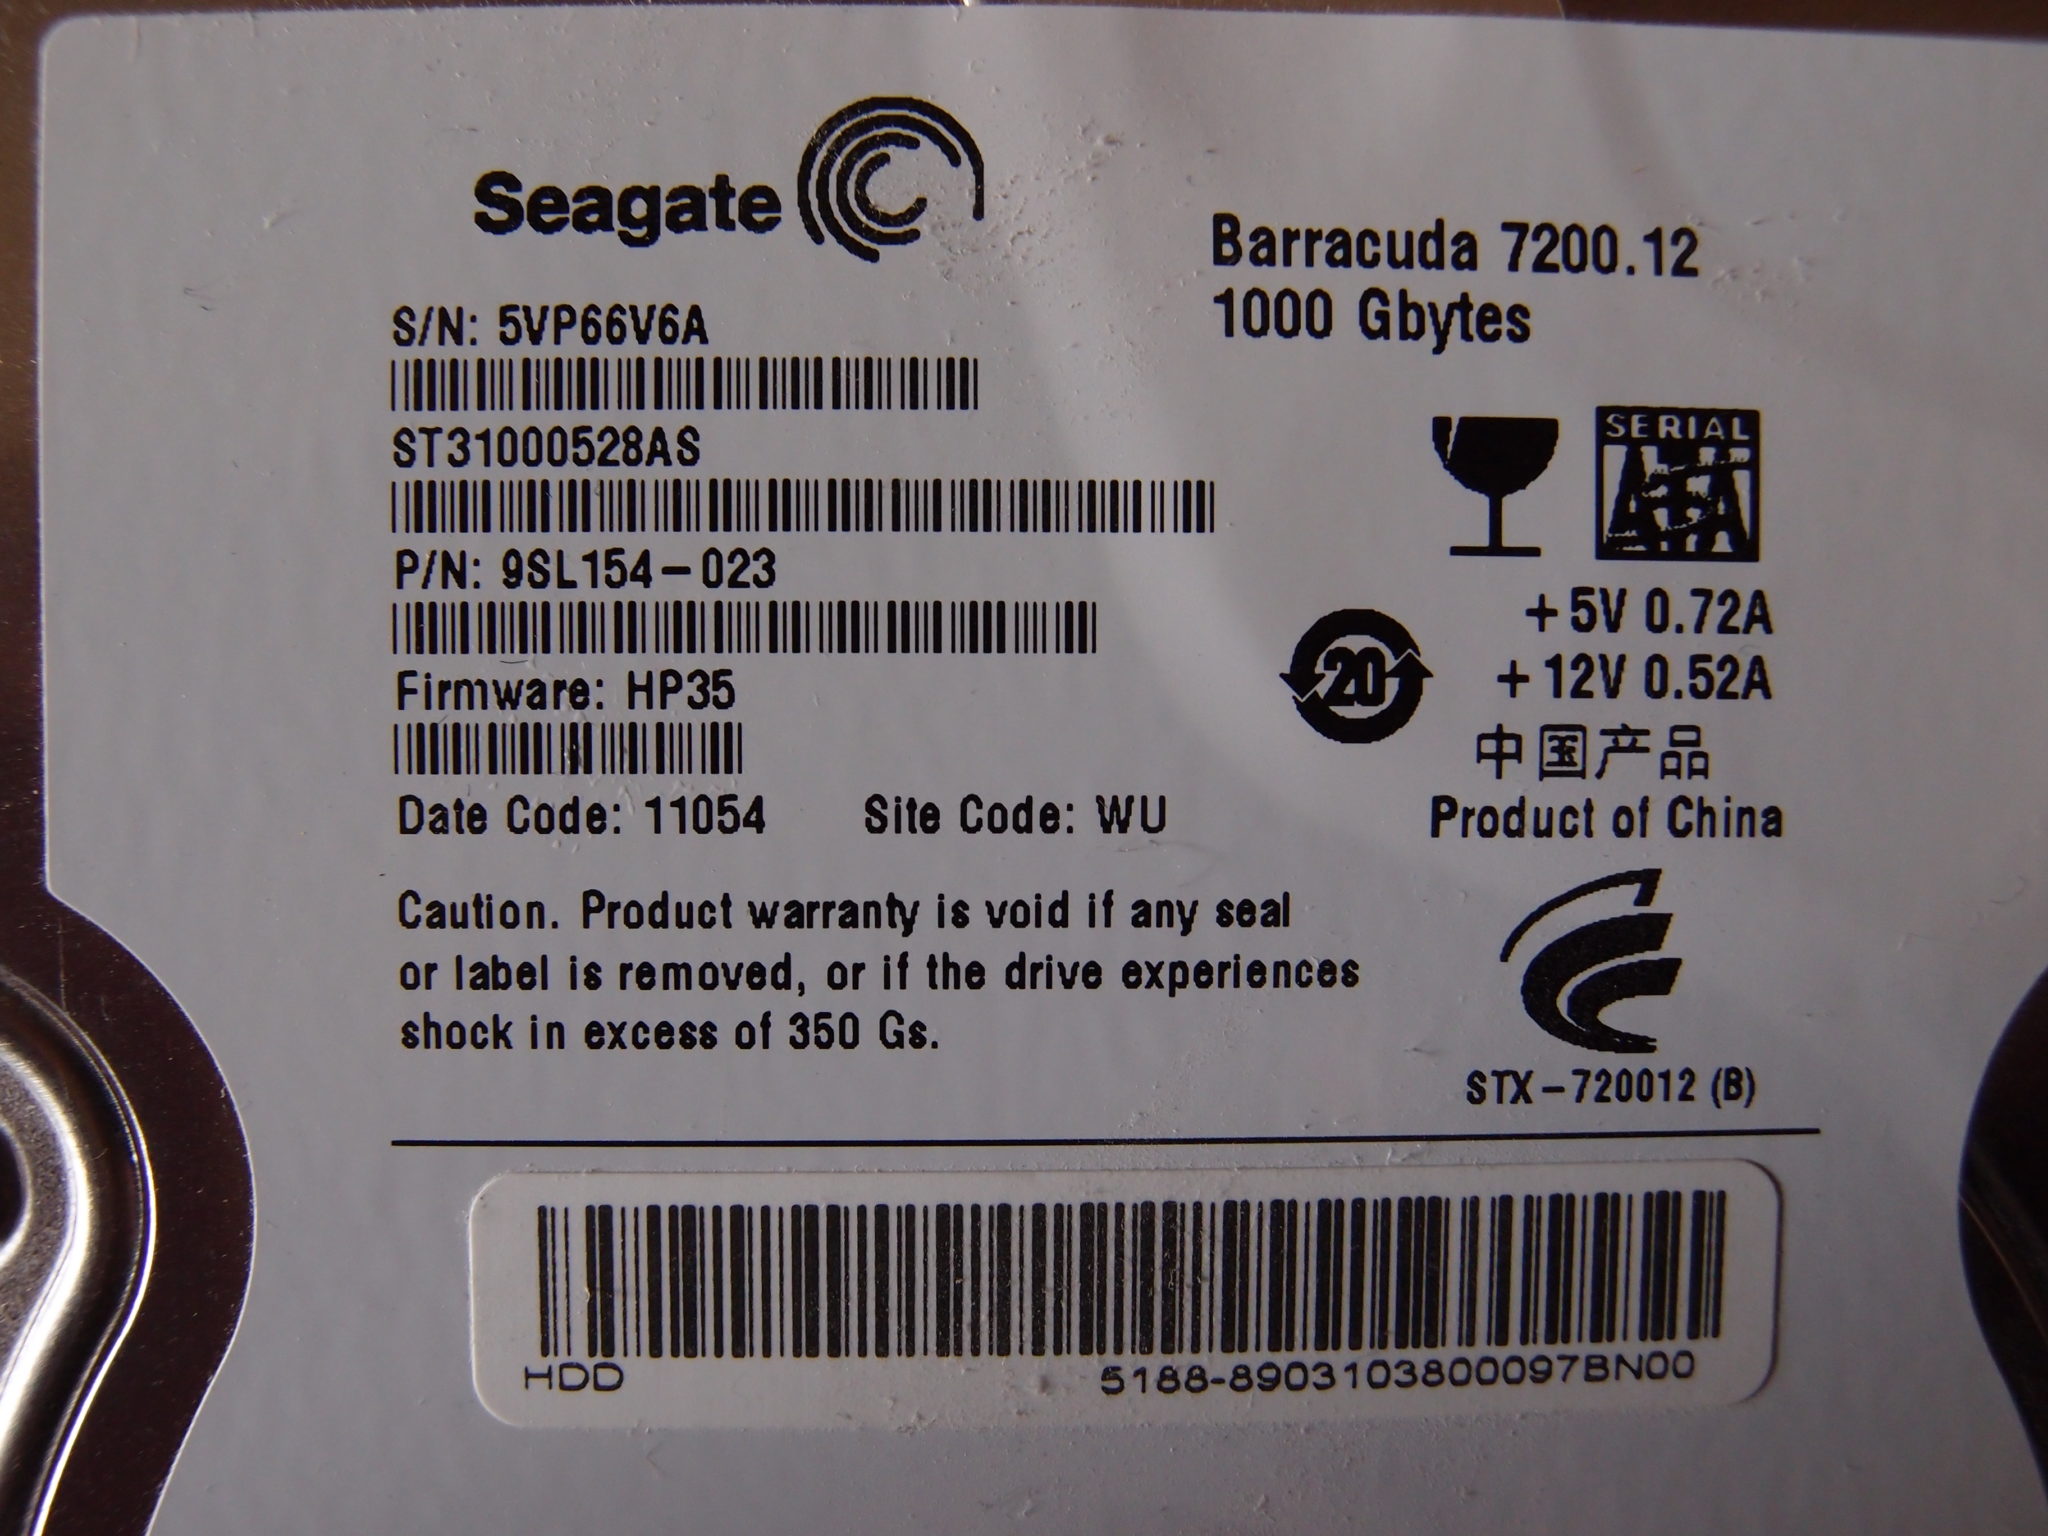
So I solder a micro USB cable to the 5volt on the SATA port. The circuit board locked the cable in place.
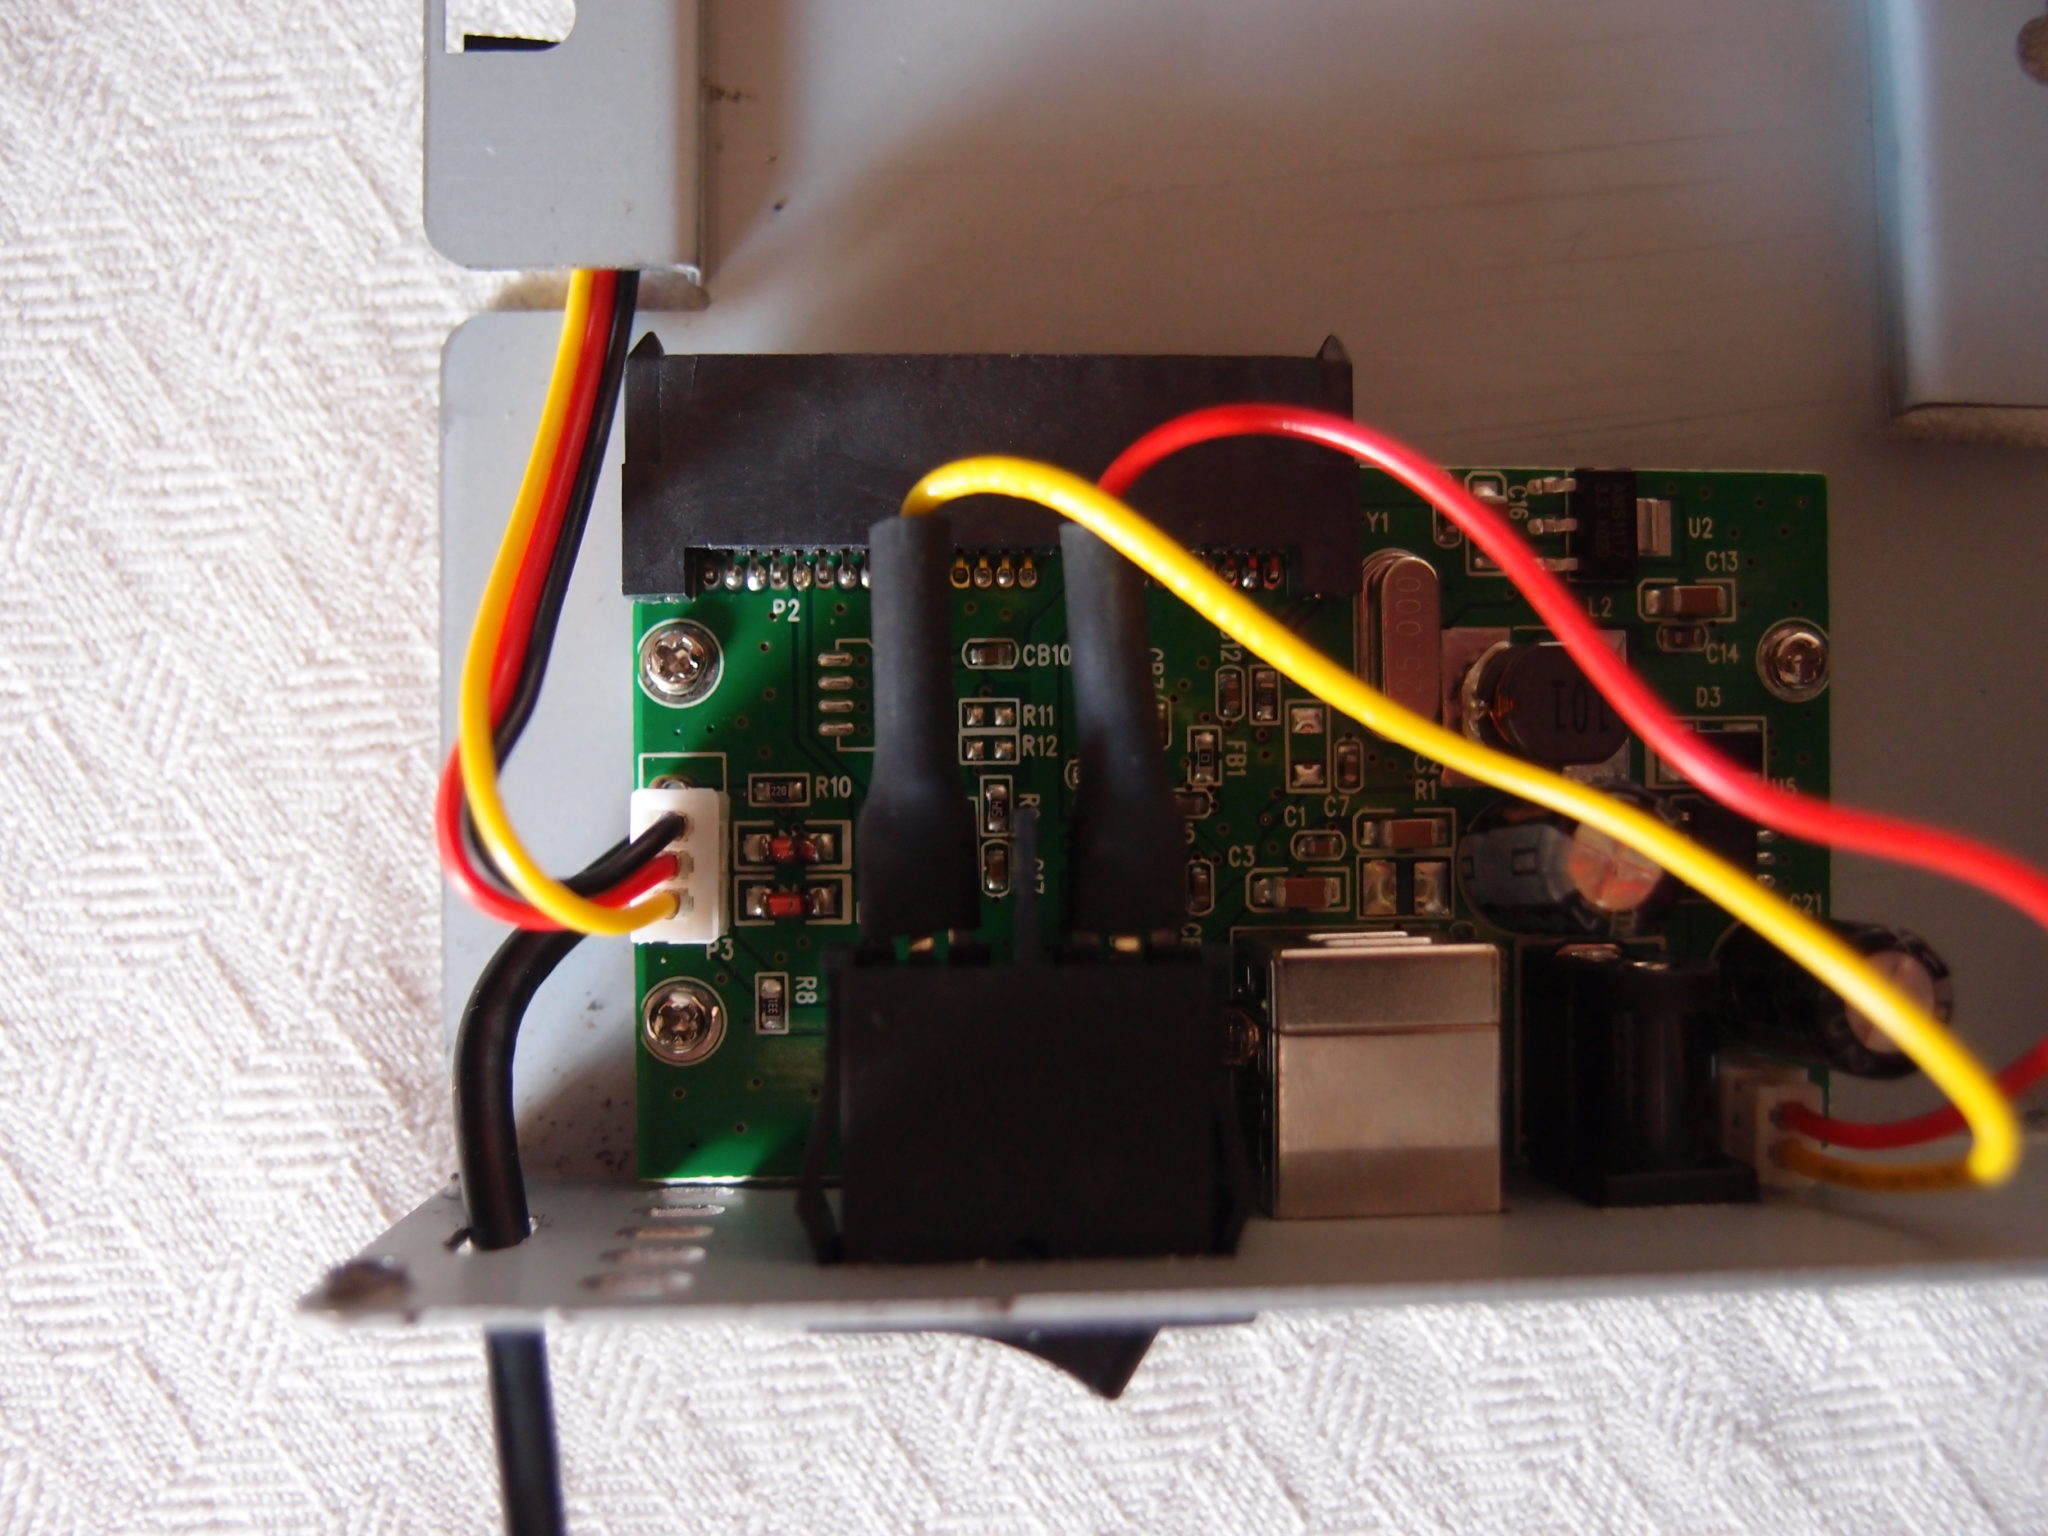
Found the Kensington lock hole useful 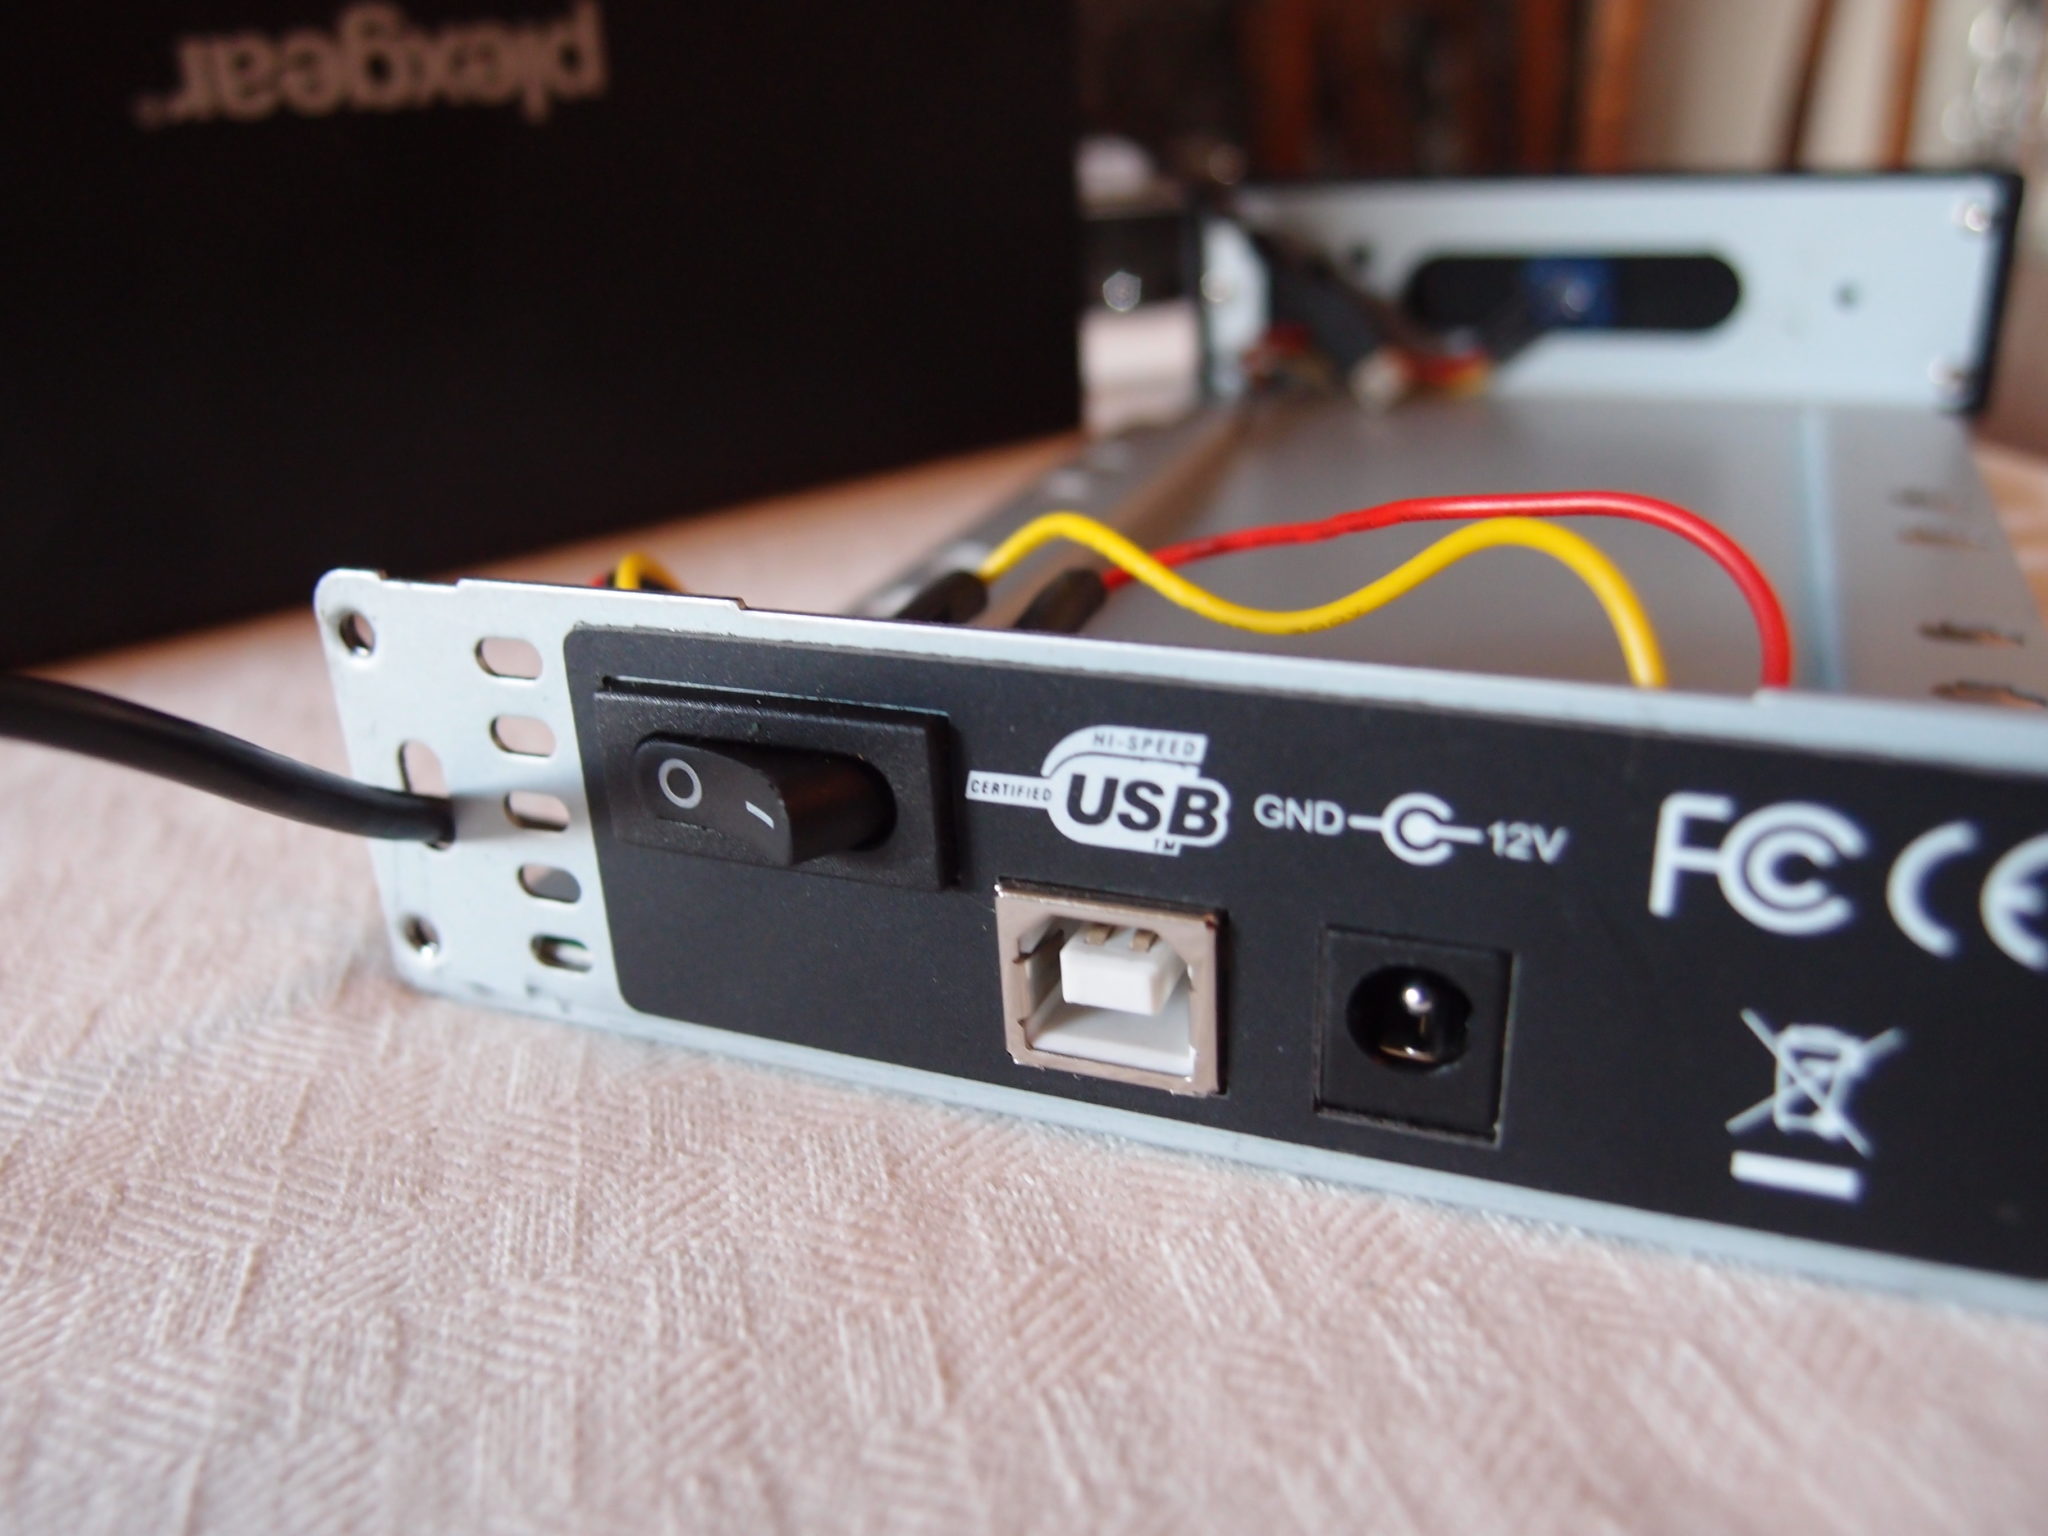
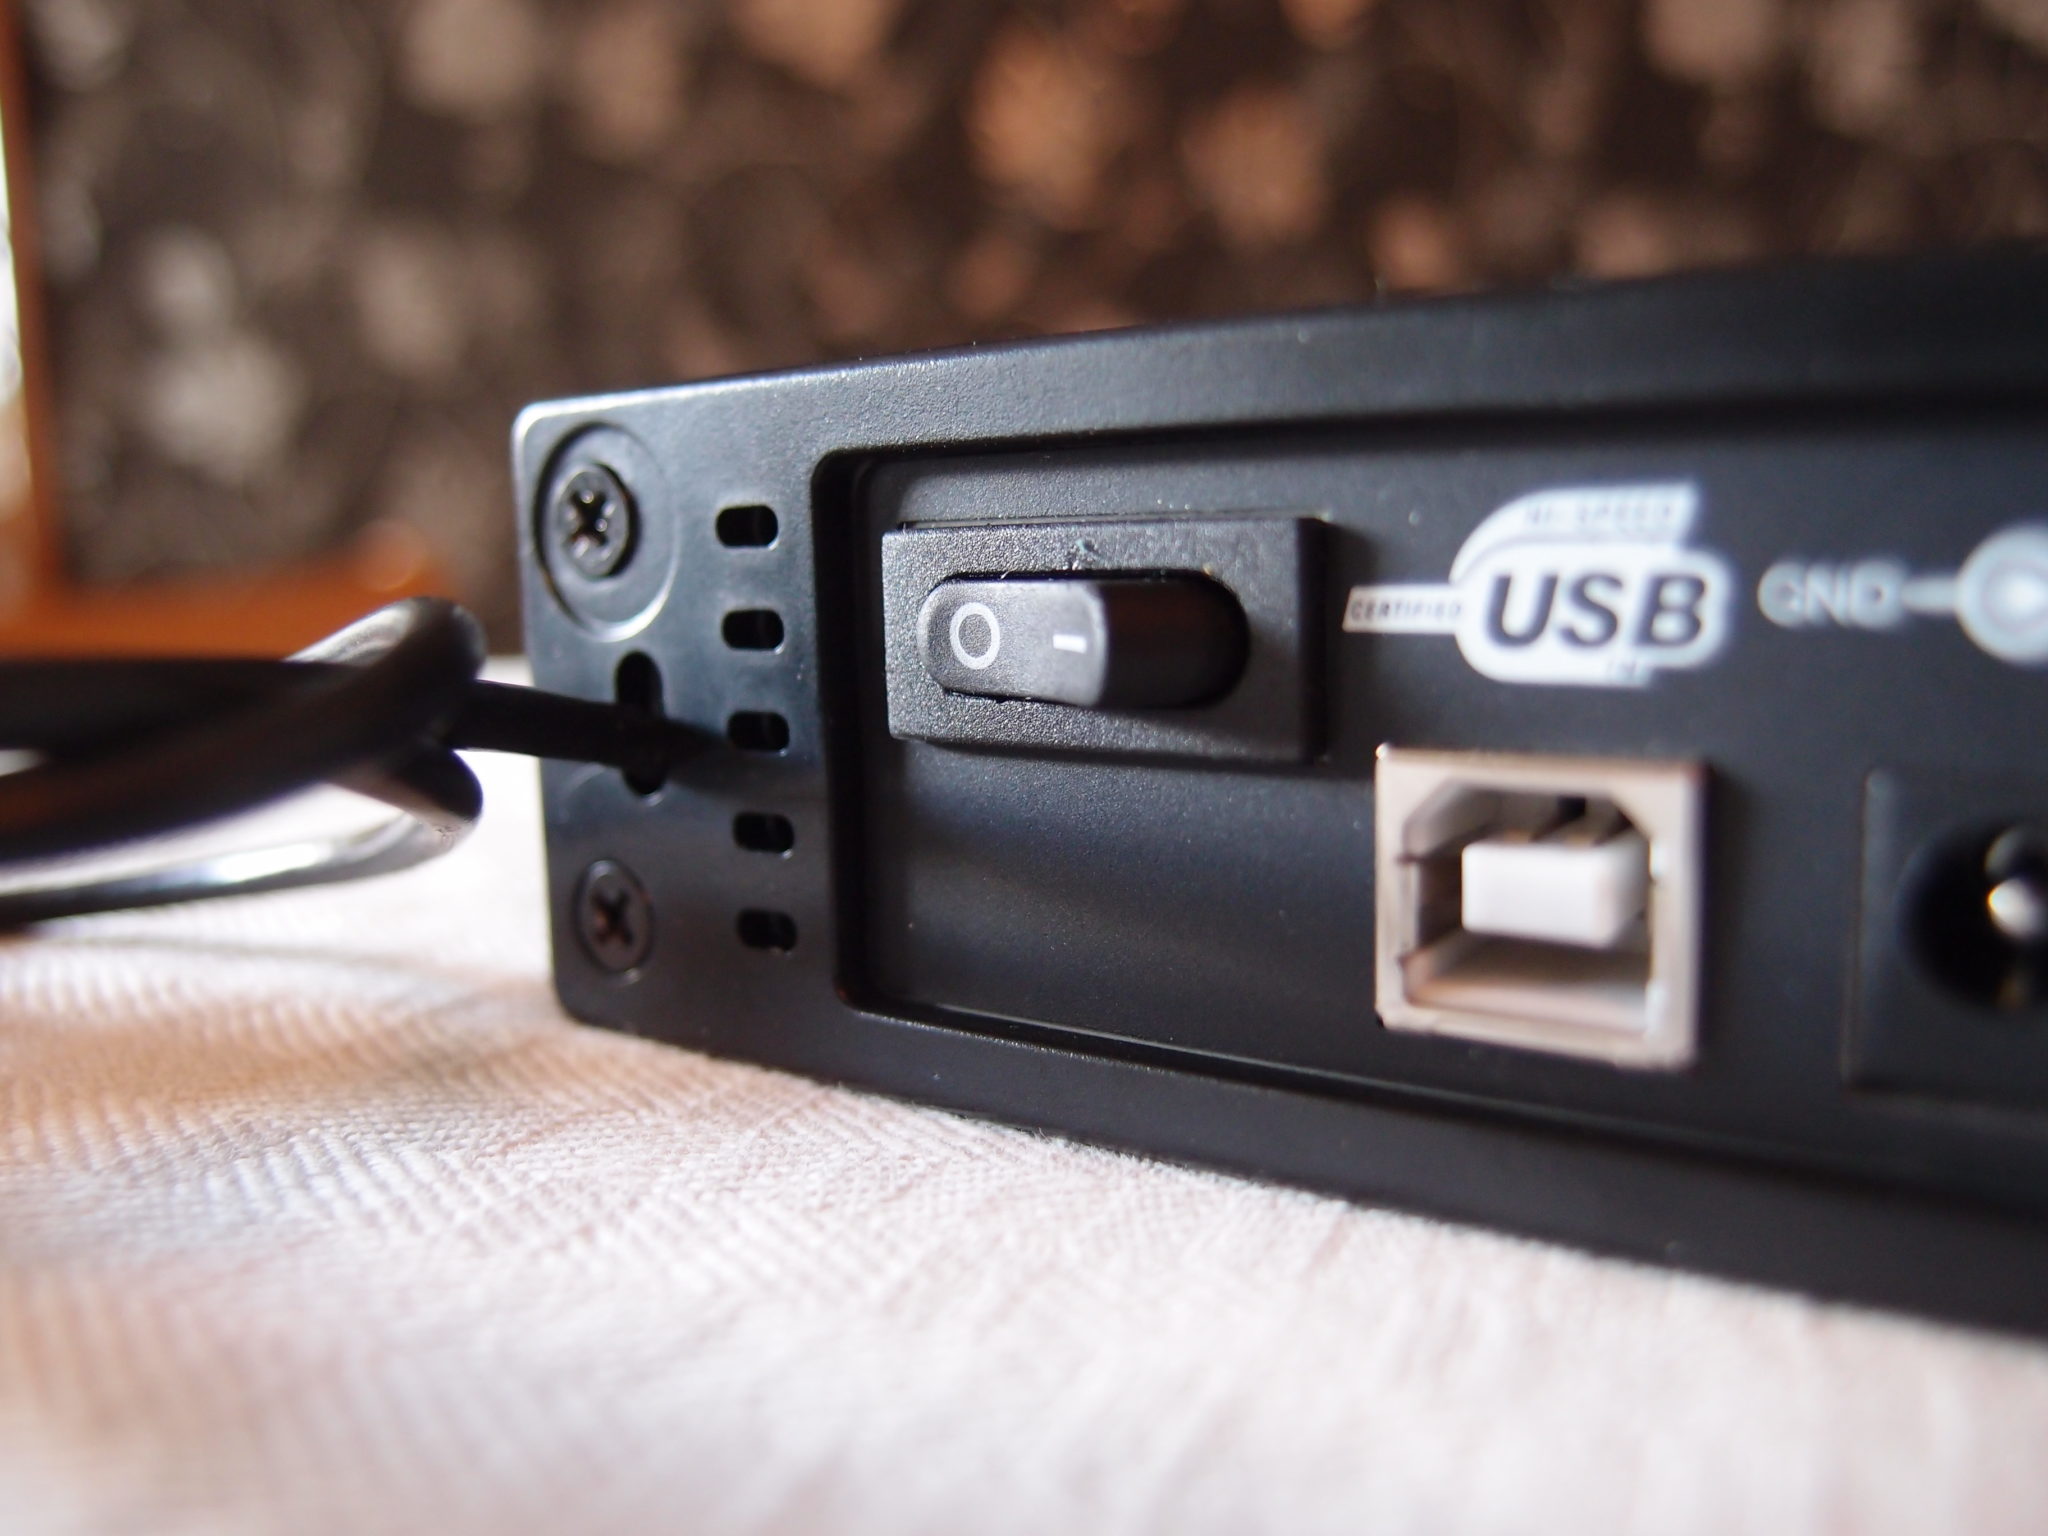
Finished result:
Since I put the Raspberry on the Internet and no other firewall in front of it I’m using Iptables. I’m not a hardcore user of Iptables so I found a nice GUI I could use on my PC: http://www.fwbuilder.org/
Real simple to use, didn’t lock me out once.
Update:
Since i only use the boot partition on the SD card i decided to replace my 8GB with an old 1GB that i haven’t used in a long time. If I only could find the SD card that I got when I bought my first digital camera. I think it was 32MB and that would have been enough.